Gewiss GWA1501
| Model | GWA1501 |
| Vendor | Gewiss |
| Description | Contact interface - 2 channels |
| Exposes | battery, input |
| Picture | 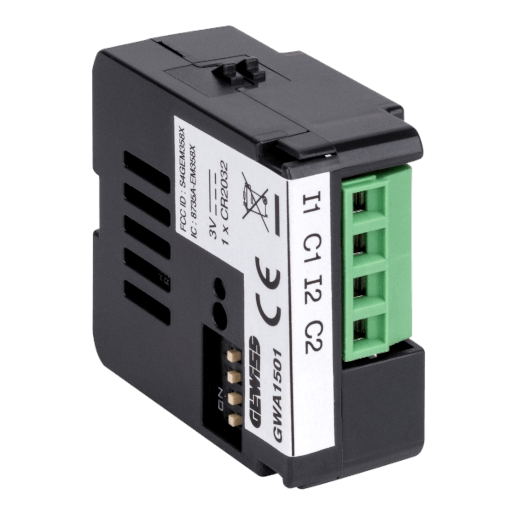 |
Notes
Pairing
- Remove the battery. Replace with a fresh battery if the case.
- Flip the switches in the off position (contacts I1/C1 and I2/C2 are open).
- Set jumpers in position 0000 (▄ ▄ ▄ ▄) = Factory default.
- Re-insert the battery.
- Push and hold the small pairing button (A2 in manual) for at least 10 seconds. The status LED will flash red and green alternately for 3 seconds, then become red fixed. Device is now factory reset.
- Remove the battery.
- Set jumpers in position 1011 (▀ ▄ ▀ ▀) = Pairing configuration.
- Re-insert the battery.
- Device is now in pairing mode for 5 minutes. LED light should stay red.
- Start Permit Join.
- After pairing is complete, the LED will continue to slowly blink green for a few minutes.
- Set jumpers in position 0011 (▄ ▄ ▀ ▀) = One-way switch (on/off) configuration.
- Flip switches on and off.
Exposes
Battery (numeric)
Remaining battery in %. Value can be found in the published state on the battery property. To read (/get) the value publish a message to topic zigbee2mqtt/FRIENDLY_NAME/get with payload {"battery": ""}. It's not possible to write (/set) this value. The minimal value is 0 and the maximum value is 100. The unit of this value is %.
Input (binary, 1 endpoint)
State of input I1. Value can be found in the published state on the input_1 property. To read (/get) the value publish a message to topic zigbee2mqtt/FRIENDLY_NAME/get with payload {"input_1": ""}. It's not possible to write (/set) this value. If value equals ON input is ON, if OFF OFF.
Input (binary, 2 endpoint)
State of input I2. Value can be found in the published state on the input_2 property. To read (/get) the value publish a message to topic zigbee2mqtt/FRIENDLY_NAME/get with payload {"input_2": ""}. It's not possible to write (/set) this value. If value equals ON input is ON, if OFF OFF.