Espressif Espressif-ZigbeeRangeExtender
| Model | Espressif-ZigbeeRangeExtender |
| Vendor | Espressif |
| Description | ESP32-C6/H2 router |
| Exposes | |
| Picture | 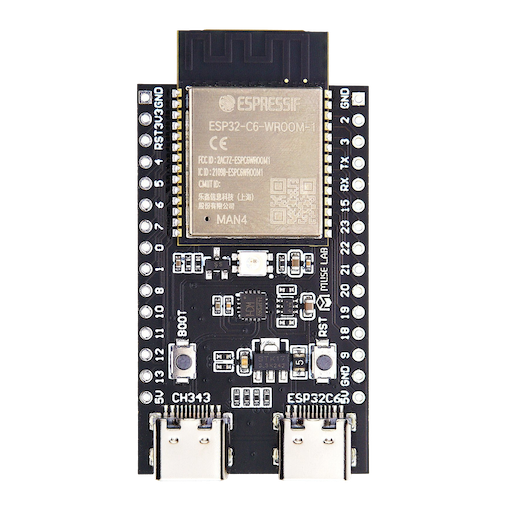 |
Notes
Readme from Arduino IDE
Link to Arduino-ESP32 Zigbee Range Extender (Router) Example
Pairing
power on device via USB and permit join in zigbee2mqtt.